Hinge
Types
The component that makes a door's opening possible
Hinges join doors to the body of the cabinet, allowing them to move. Their quality determines how smoothly the door operates, prevents it from dropping over time, and affects the overall lifespan of the piece.
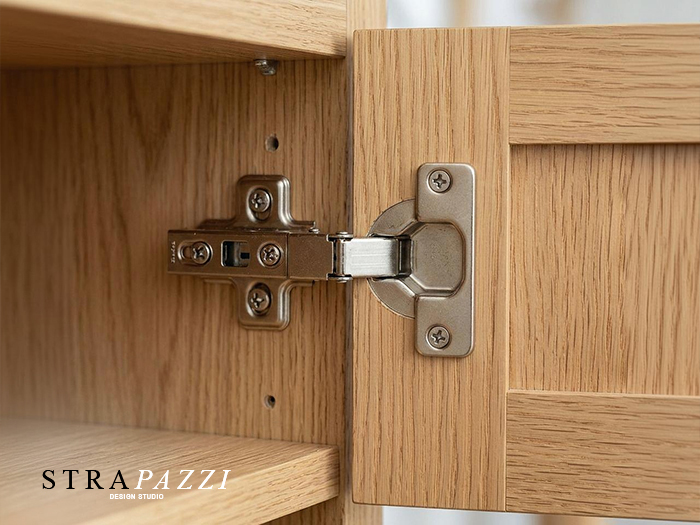
Cup Hinges
The most common in modern furniture. Adjustable in three directions after fitting, they can be removed and refitted with ease. Used for full overlay or half overlay doors.
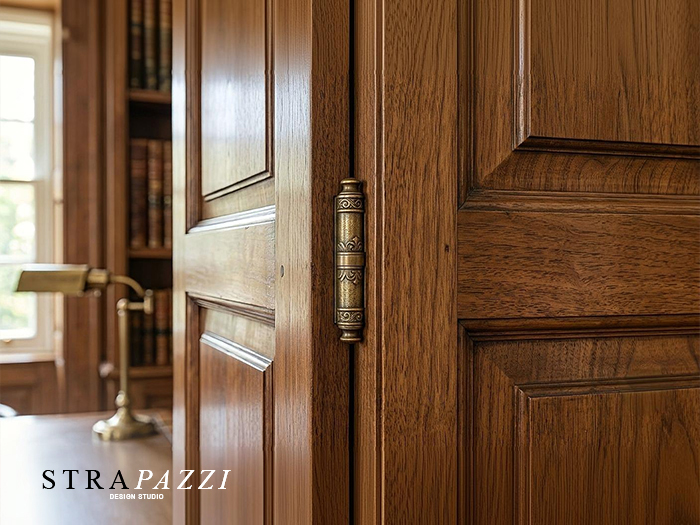
Anuba (Pin Hinges)
Typical of classic or colonial-style furniture. Made of two pins screwed into the wood; the visible barrel often serves a decorative purpose as well.
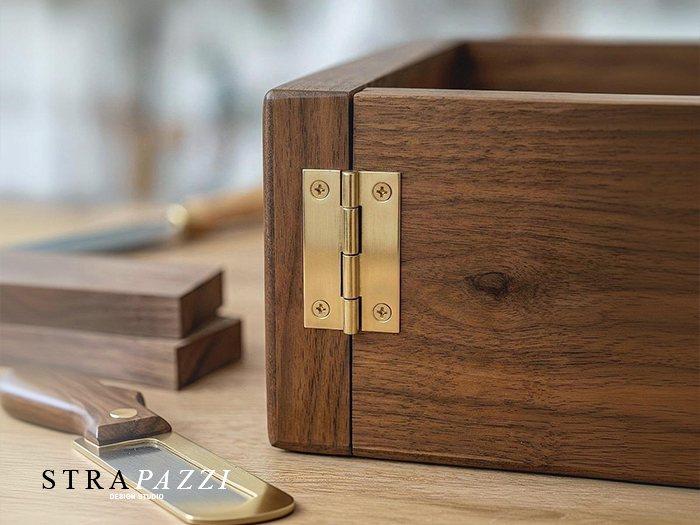
Flat (Butt) Hinges
Two metal leaves joined by a pin. Used for full or partial overlay; they require a small recess cut into the wood for the thickness of the leaf.
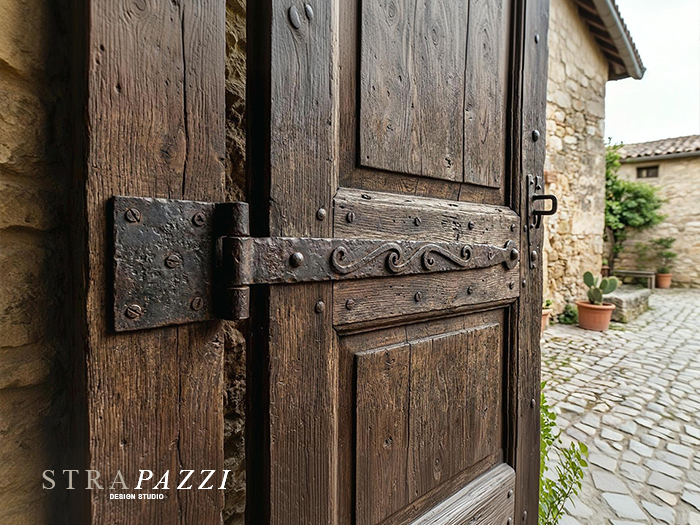
Flag Hinges
Male half with a pin on the cabinet, female half on the door. Often mounted in view; straight or angled variants for overlay, cranked variants for inset doors.
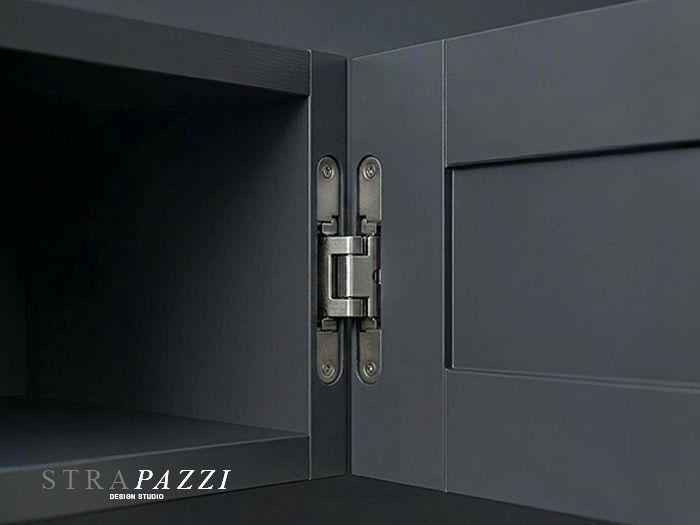
Concealed Hinges
Designed to disappear behind the door once closed, giving a completely clean, minimalist look.
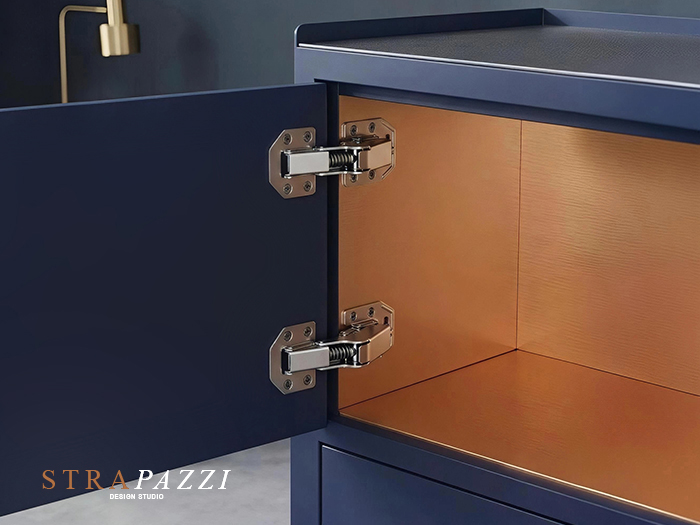
Soft-Close
Fitted with a hydraulic mechanism that slows the closing action, avoiding noisy slams and protecting both carcass and door over time.
Beyond swing-door hinges, there are mechanisms dedicated to horizontal openings on wall units: lift-up (rotating on a top axis), swing-up/flap (translating over the cabinet) and bi-fold (the doors fold onto themselves). And for continuous openings on long surfaces, piano hinges are used.
Cup hinges, in particular, also differ by the shape of the neck — the arm connecting the cup recessed into the door to the mounting plate fixed on the side panel. This shape isn't an aesthetic detail: it determines exactly where the door sits relative to the carcass.
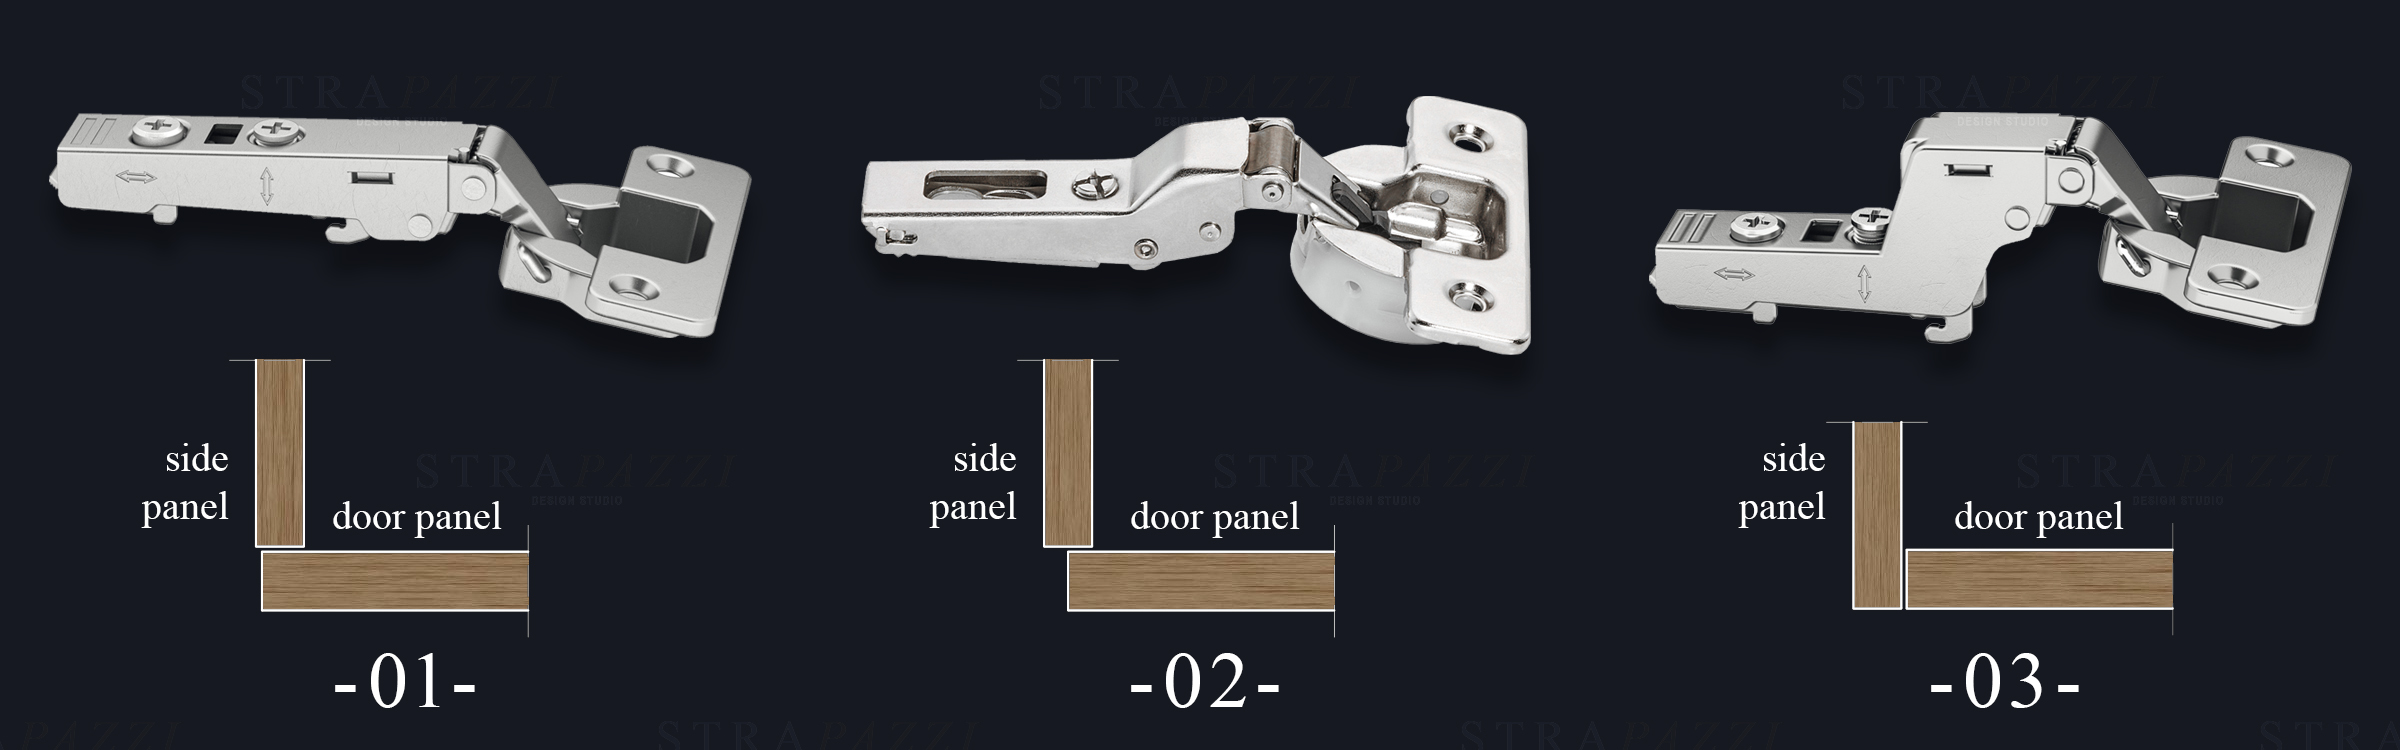
Straight
The arm is straight, with no curvature: the door fully covers the side of the carcass.
→ Full overlayHalf-Cranked
The arm is slightly curved: used when two doors sit side by side on a shared intermediate side panel, each covering only half its thickness.
→ Half overlayFully Cranked
The arm is curved to the maximum: it lets the door sit entirely inside the carcass opening instead of covering its edge.
→ InsetProf. Vincenzo Pazzi
Drilling
Diagram
The diameter is the universal standard — everything else varies by brand
Every cup hinge shares the same 35 mm hole, but not the same drilling diagram. Blum, Salice and Hettich position the fixing holes in slightly different spots, and that's the part of the diagram that changes from one model to another.
- ⌀ 35 mm — cup hole diameter: the only truly standardised value, identical across every manufacturer (Blum, Salice, Hettich and the generic jigs on the market).
- Pitch — distance between the two small holes: varies by manufacturer, typically 45 mm, 48 mm or 52 mm depending on the brand (the half-pitch — half the pitch — is the linear distance along the vertical axis from the cup centre to each small hole).
- Offset from the cup centre: the two small holes aren't in line with the cup centre, but always shifted in the direction opposite the door edge, by a value stated on the technical datasheet (for example 9.5 mm for Blum, 5.5 mm for Salice and Hettich).
- Distance from the door edge (K): usually between 3 mm and 6 mm — this measurement affects the gap left between the door and the structure.
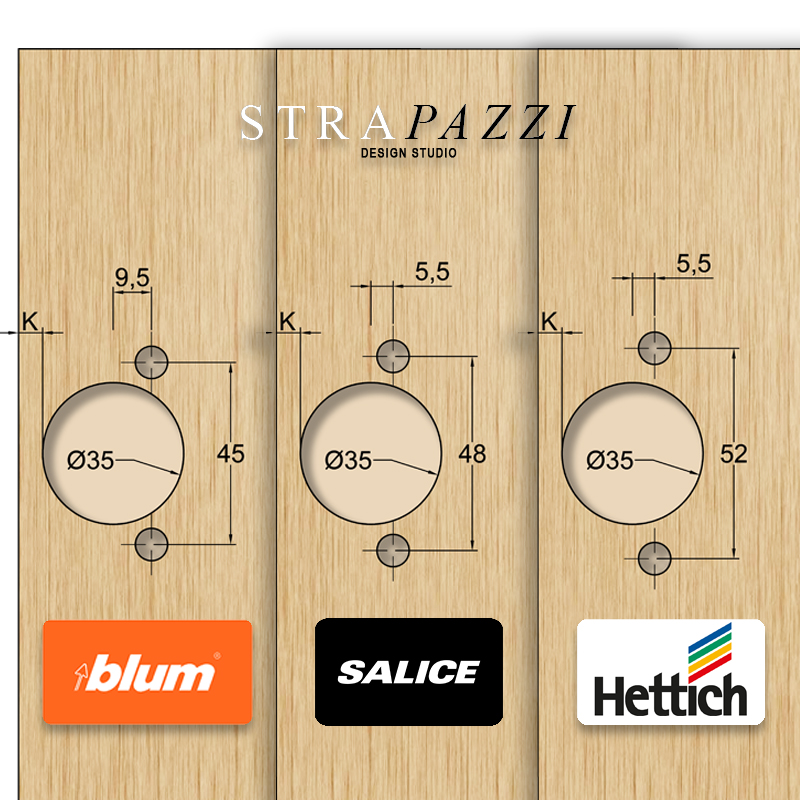
Technical datasheet and comparative analysis by Prof. Vincenzo Pazzi for the Teaching section. Logos and commercial references are reproduced solely to aid visual recognition and technical analysis of the products within this course.
- Pitch, edge distance and drilling depth should always be checked against the technical datasheet of the specific model being fitted — even within the same brand they can change from one range to another.
- Diameter and depth of the side holes depend on the fixing type chosen: with wood screws a 2 mm pilot hole, 2–3 mm deep, is enough; with plastic press-fit dowels or screwless quick-fit systems (e.g. Blum INSERTA, Hettich Fix) an 8 mm hole, 11–12 mm deep, is required instead.
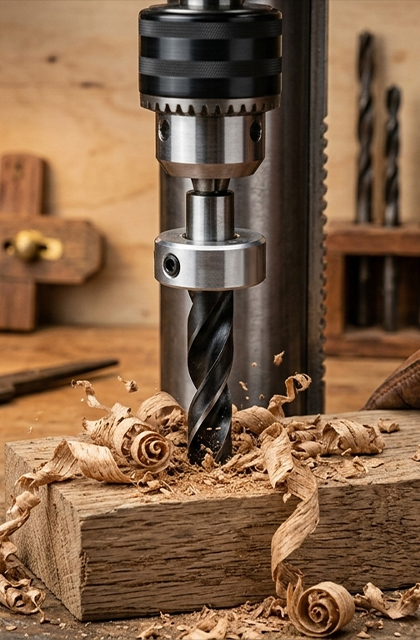
- ⚠️ For 8 mm holes, always use a depth-stop collar on the drill bit: standard door thickness is only 18–22 mm, and without a depth limiter the risk of drilling straight through the door is real.
- When in doubt, a test on a scrap piece remains the safest way to confirm the measurements before drilling the final door.
Prof. Vincenzo Pazzi
Installation
& Drilling
Millimetre precision for correct operation
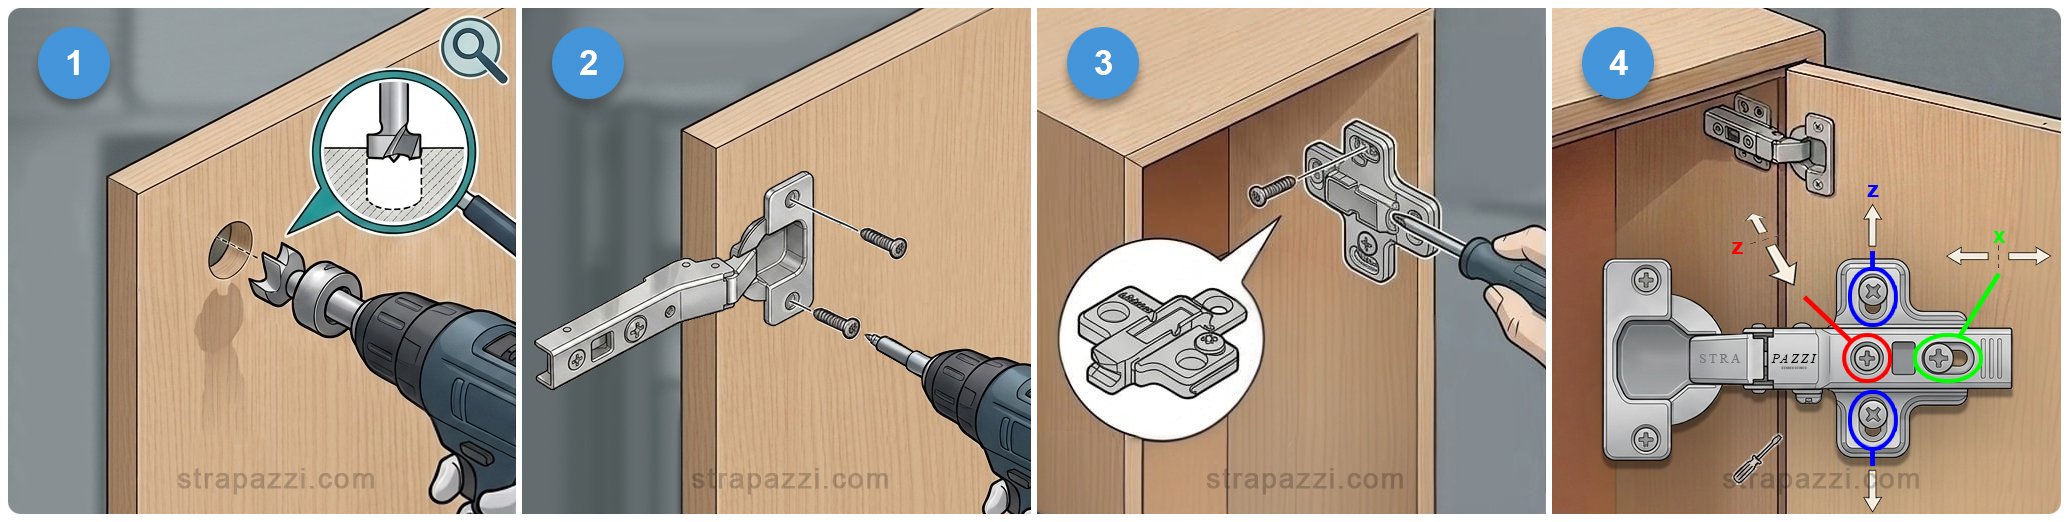
Fitting a cup hinge — the most common type — requires a precise sequence. Every step affects the final alignment of the door relative to the carcass.
Blind hole in the door
A blind hole (which doesn't go through the wood) is drilled to the correct diameter and depth for the hinge's "cup", at the exact distance from the edge stated by the manufacturer.
Pilot holes
Two small holes are drilled for the screws that lock the cup in place.
Plate on the carcass
On the cabinet's side panel, only the two holes needed for the mounting plate screws are drilled — the plate that the hinge arm then clips onto.
Final adjustment
After fitting, the door is adjusted in three directions: vertical (height), horizontal (gap between doors) and depth (distance from the carcass).
- Always run a test on two scrap pieces of wood before drilling the final door.
- Use a drilling jig when fitting several hinges in a row: it guarantees precision and speed.
- Always follow the manufacturer's instructions: depths and distances vary slightly from model to model.
- For Anuba pin hinges, pre-drill the wood on the edge of the door and cabinet before screwing in the pins.
- For flat hinges, the "hole" is actually a small recess cut with a chisel or router, for the thickness of the metal leaf.
- Lubricate hinges periodically to keep them moving smoothly over time.
Prof. Vincenzo Pazzi
Key
Manufacturers
Who makes the hinges fitted every day
Behind every cup hinge is a specific manufacturer — often one of these seven names, which together cover almost the entire global market for furniture hardware. Knowing them helps when navigating datasheets, catalogues and spare parts.

Blum
A widely recognised reference point at industrial scale. The Clip Top Blumotion range integrates the damper directly into the hinge cup.
blum.com →
Salice
A long-established Italian manufacturer of furniture hinges, among the first to introduce concealed hinge solutions. Offers damped ranges (Silentia) and handle-less door systems (Push).
salice.com →
Hettich
A German manufacturer of furniture hardware at large industrial scale. The Sensys range is known for mechanical strength and reliable performance even at extreme temperatures.
hettich.com →
Grass
Specialised in movement systems for high-end furniture. The Tiomos range offers multi-stage adjustable hydraulic damping, built into the hinge arm.
grass.eu →
Häfele
A distributor and manufacturer of hardware on a global scale: alongside distributing other brands' products, it produces its own ranges such as the Matrix series.
hafele.com →
Sugatsune / Lamp
A manufacturer focused on mechanical precision and resilient materials (e.g. marine-grade stainless steel), used in architectural projects or environments with heavy loads and high humidity.
sugatsune.com →
DTC
One of the leading Asian manufacturers of furniture hardware, geared towards large-scale industrial production with a strong price-to-quality ratio.
dtcdtc.com →Trademark and intellectual property notice: all trademarks, logos, company names, figurative marks and product names mentioned or shown on this site (including, by way of example but not limitation: Blum, Salice, Hettich, Grass, Häfele, Sugatsune/Lamp, DTC) belong to their respective legitimate owners.
Any use of them is purely for informational, descriptive, illustrative and technical comparison purposes, with no intent of infringement, violation of proprietary rights, or commercial association. This site is in no way sponsored, affiliated with, authorised or endorsed by the above manufacturers.
Prof. Vincenzo Pazzi